Article: How to Start an Asado the Best Way: Step by Step Guide
How to Start an Asado the Best Way: Step by Step Guide
TLDR
Start small. Burn clean hardwood until you have glowing embers, not flames. Cook over embers, not fire. Control heat by moving embers and adjusting grate height. Keep a small side fire going so you never lose momentum.
If you get the fire right, everything else becomes easier.

What “Starting an Asado Grill” Really Means
Starting an Asado grill is not about lighting a big fire and throwing meat on top.
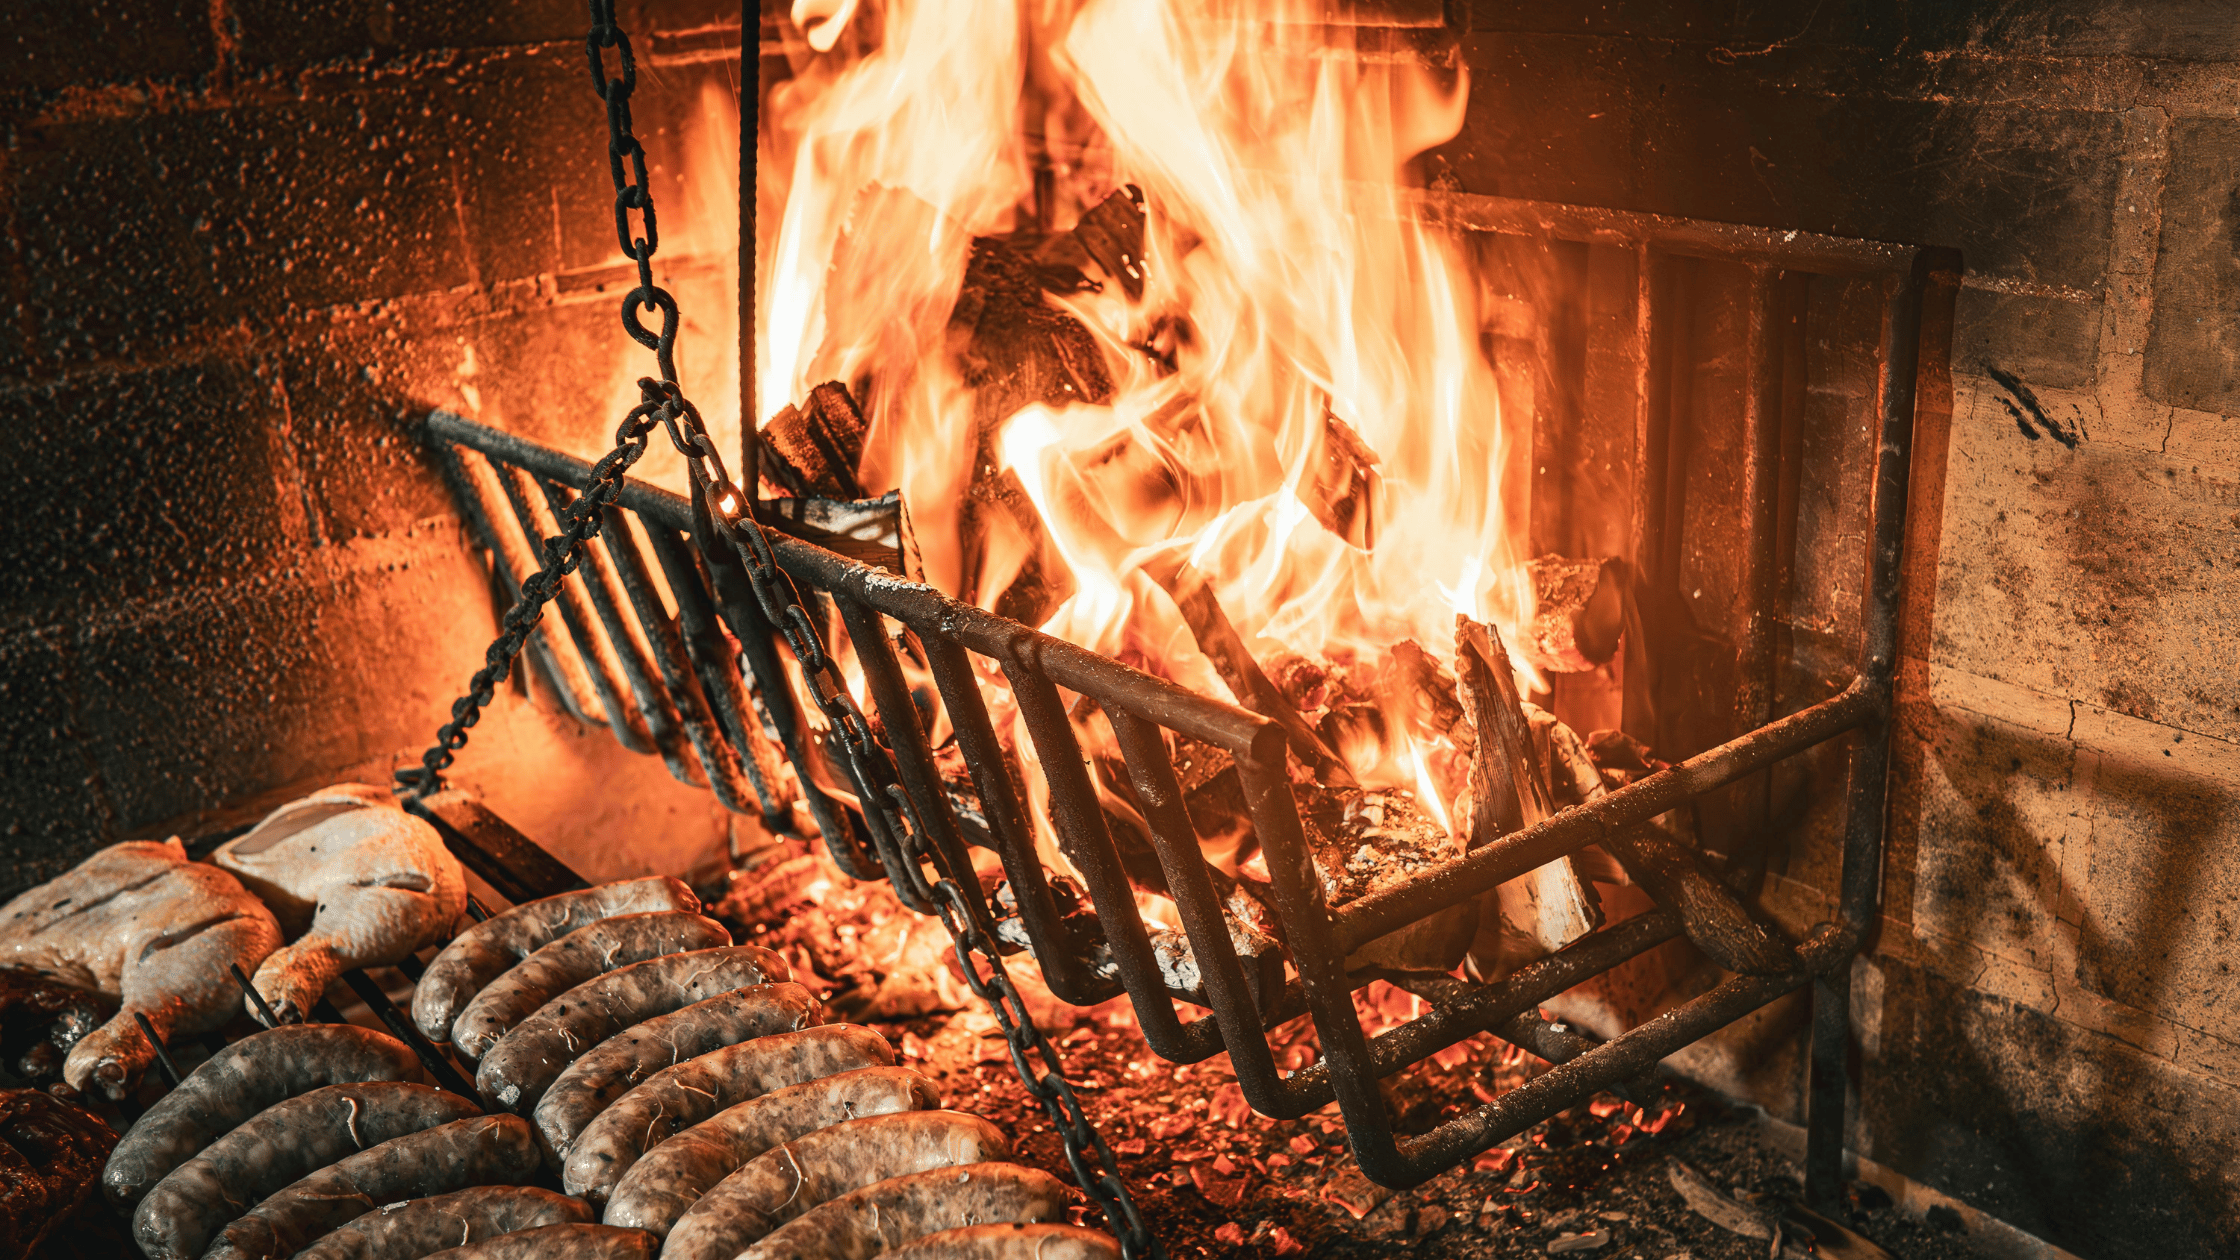
It is about building a steady bed of embers that give you calm, controllable heat. In Argentina, the fire is built with patience. Flames are just a step toward the real goal: glowing coals that radiate steady energy.
If your grill has a brasero, use it to burn logs down separately and shovel embers under the parrilla. If not, build your fire on one side and manage it from there.
Asado is slow by nature. The fire sets the rhythm.

Where to Put Your Asado Grill
Before you strike a match, check your setup.
Place the grill on level ground. Keep it away from walls, fences, or anything overhead. Think about wind direction. You want airflow feeding the fire, not blowing smoke straight into your guests.
Keep your wood stacked nearby. Have a bucket of water or sand within reach. Fire management feels relaxed when you are prepared.
What You Need Before You Light Anything
Keep it simple.
Fuel
Dry hardwood logs are ideal
Lump charcoal works well, especially for beginners
Avoid treated wood or softwoods that produce harsh smoke
Long tongs
Ember shovel or poker
Heat-resistant gloves
A simple thermometer if you are still learning
Good tools make fire control easier. If you are building your setup, a proper ember shovel and adjustable parrilla system from Omberg Asado will save you effort every time you cook.
Step by Step: Starting the Fire

Step 1: Clean and Prep the Grill
Remove old ash so air can flow from below. Check that vents are not blocked.
Lightly oil the grill grates with a cloth. This prevents sticking later and protects the metal.
Step 2: Build the Fire Stack
Start small. A compact stack lights faster and cleaner.
Use a simple log cabin structure:
Two small logs parallel
Two across on top
A few smaller splits and natural fire starters in the center
Air gaps are important. Fire needs oxygen.
If using charcoal, form a mound and light it in two or three spots. Once glowing, you can add small wood splits on top for flavor.
Step 3: Light the Fire
Light from the bottom. Let the flames climb naturally.
Do not rush to add large logs. Let the first structure fully catch. You are building a foundation of heat.
This stage usually takes 15 to 25 minutes depending on fuel and weather.
Step 4: Let It Burn Down Into Embers
This is where many beginners go wrong.
You are not cooking over flames. You are waiting for glowing red embers with a light grey surface.
With hardwood, expect 30 to 60 minutes before you have a proper ember base. Charcoal is faster.
When you see steady glowing coals and fewer active flames, you are ready to move embers under the grill.
Keep a small secondary fire burning on the side or in the brasero. This gives you fresh embers throughout the cook.
Step 5: Create Your Heat Zones
Shovel embers under the parrilla.
Spread them thicker on one side for high heat. Thinner on the other for medium heat. Leave a cooler zone with fewer coals.
This gives you control:
Sear over strong heat
Cook thicker cuts over medium heat
Rest or slow-finish over low heat
If your parrilla has adjustable height, raise it for gentle cooking and lower it for stronger searing. (This is standardized on our grills)
Fire control replaces knob control. Once you understand that, Asado becomes intuitive.
Dialing In Heat the Asado Way

Adjust the Grate Height
Lower grate equals stronger heat. Higher grate equals slower cooking.
For ribs or thicker cuts, start higher and lower gradually. For skirt steak or entraña, you can cook closer to the embers for a quicker finish.
Small height adjustments make a big difference.
Cooking With Wood for Flavor
Different hardwoods give subtle differences in aroma.
Oak burns steady and clean
Beech is balanced and mild
Fruit woods add a softer sweetness
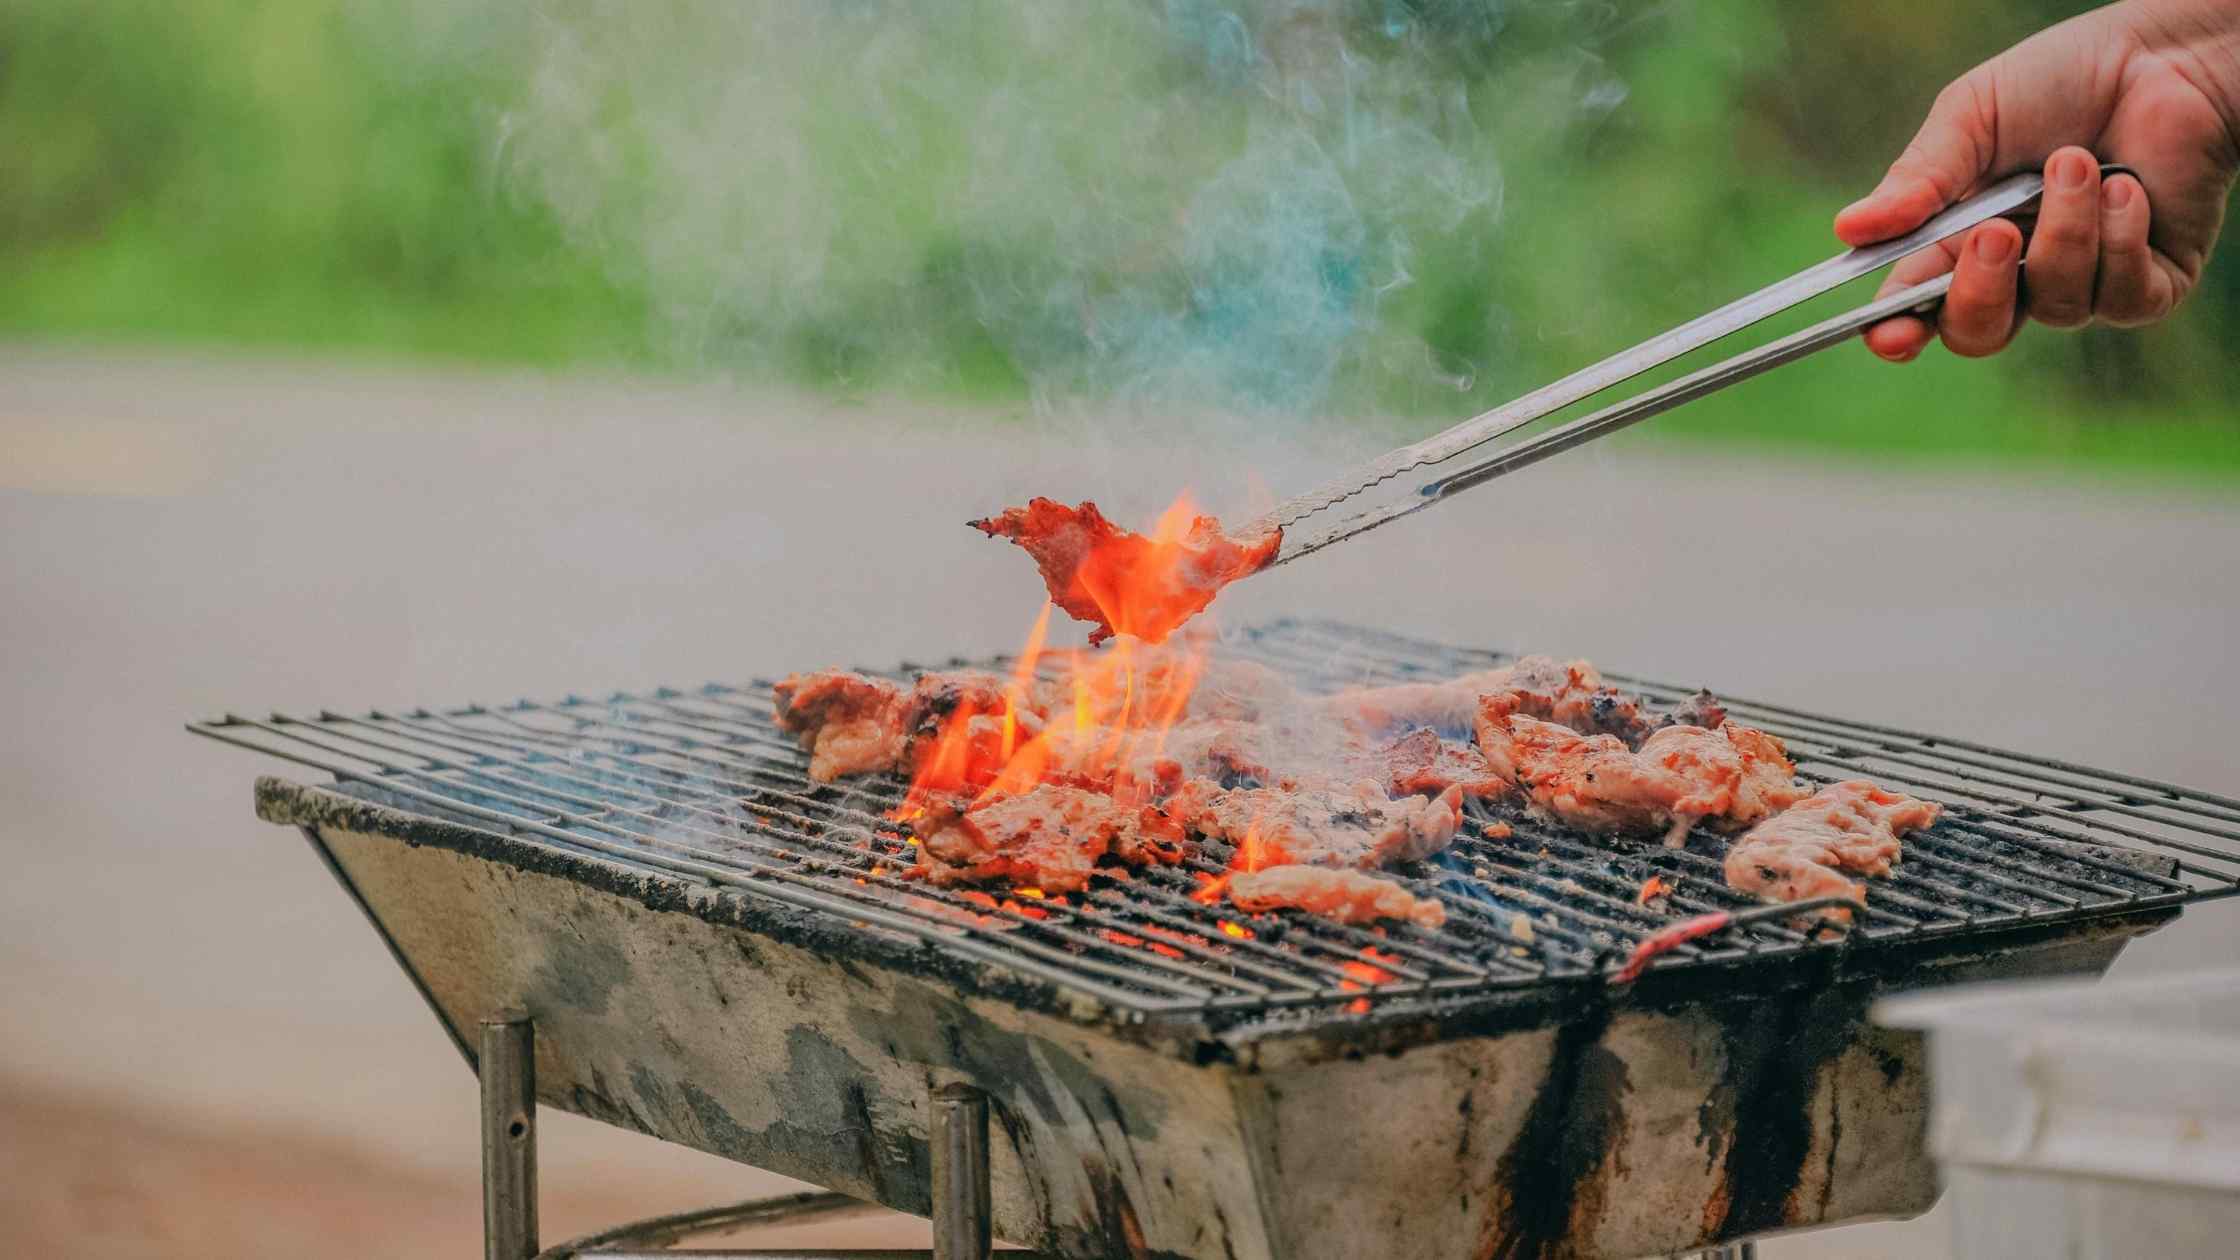
Avoid thick white smoke. Clean heat with light blue smoke is what you want. Too much heavy smoke will overpower the meat.
Common Beginner Mistakes
Lighting Too Big a Fire
Large flames look impressive. They do not cook better. Start controlled and build gradually.
Cooking Too Early
If flames are still strong, wait. Meat over raw flames can taste bitter.
Letting the Fire Die
Always maintain a side fire. Add logs before you run out of embers, not after.
Skipping Rest Time
Even perfectly grilled meat needs to rest. Give it time before slicing so juices stay inside.
After the Cook: Shut Down Properly
Let embers burn down naturally. Spread them out to cool faster if needed.
Once the grill is warm but not hot, brush the grates clean. Wipe lightly with oil to prevent rust.
Good maintenance keeps your Asado grill ready for the next cook.
FAQs
How long does it take to start an Asado grill?
Plan for 45 to 60 minutes from lighting to cooking temperature with wood. Charcoal can shorten that time.
Can I start with charcoal and add wood?
Yes. Many beginners do this for consistency, then add wood splits for aroma.
What is the easiest fuel for beginners?
Lump charcoal with a few hardwood splits for flavor is very forgiving.
What accessories help most?
A solid ember shovel, heat gloves, and an adjustable parrilla system make fire management simple. You can find purpose-built Asado tools at ombergasado.com that are designed specifically for this style of cooking. Check out our accessories for a broad sortiment.
Starting an Asado grill is not about speed. It is about control.
Once you learn to read embers, manage height, and keep a steady side fire, you stop worrying about the flame. You focus on the food and the people around you.
That is when Asado really begins.